
Companion Plants
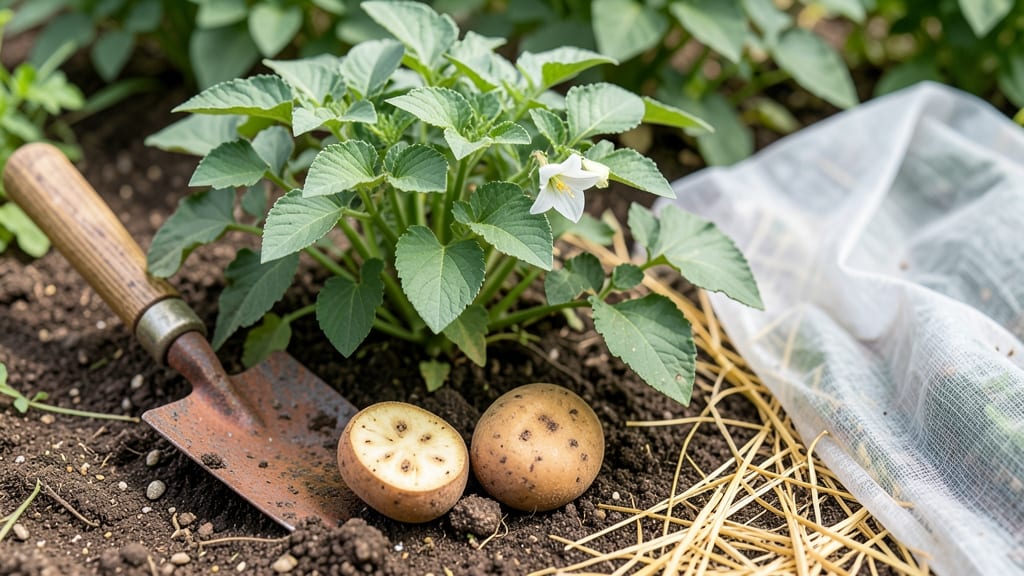
When can I plant potatoes in Zone 6b? Timing your potato planting isn’t just about throwing 🥔 seeds into the ground and hoping for the best—it's the difference between a fast, bountiful harvest and wasted effort. The key? Paying attention to soil temperature, frost dates, and the right planting window for your specific variety.
In Zone 6b, where last frosts typically hit around mid-April, you can start planting as early as late February or March if you pre-sprout your potatoes indoors.
This head start ensures your 🥔 plants are ready to grow as soon as the ground warms to 45°F (7°C), the ideal temperature for germination.
But here's the catch: not all potatoes thrive in Zone 6b's cooler springs. Early varieties like Yukon Gold or Red Pontiac are your best bet—they mature quickly and handle shorter growing seasons better than late varieties.
I'll show you exactly how to adjust your planting schedule for cooler, wetter springs that can delay progress.
Whether you're a first-time gardener or a seasoned pro, getting this timing right means fewer empty holes in your garden and more homegrown potatoes on your table. Let's break down the exact steps to plant your potatoes for the fastest, most reliable results in Zone 6b.
Zone 6b potato planting dates: frost-free timeline for early vs late varieties
In Zone 6b, planting potatoes at the right time ensures strong sprouts and a bountiful harvest. The key is balancing soil temperature (aim for 45°F/7°C) with your last frost date, typically around April 15.
Early varieties need a head start, while late varieties can wait until soil warms.
Start planting seed potatoes 2-4 weeks before your last frost date. For Zone 6b, this means late March to early April. If you're using pre-sprouted potatoes, you can plant even earlier—mid to late February—to jumpstart growth.
Your frost-free window in Zone 6b spans about 165 days, giving you time for both early and late varieties. Early potatoes (like 'Yukon Gold') mature in 60-90 days, while late varieties (like 'Red Pontiac') take 90-120 days.
Here’s your Zone 6b potato planting timeline for optimal results:
| Planting Window | Soil Temperature | Variety Type | Notes |
|---|---|---|---|
| Late February - Early March | 40-45°F (4-7°C) | Early Varieties | Pre-sprout indoors for faster growth. |
| Late March - Early April | 45-50°F (7-10°C) | Mid-Season Varieties | Standard planting for balanced harvests. |
| Mid-April | 50°F+ (10°C+) | Late Varieties | Best for storage; plant after last frost. |
If you experience late frost in Zone 6b, use frost cloth to protect young plants. For extended cold snaps, delay planting until soil temperatures consistently stay above 45°F/7°C.
For early varieties, aim to harvest by mid-July to avoid disease pressure. Late varieties can stay in the ground until early October, but stop watering 2-3 weeks before harvest to toughen skins.
Pro tip: Plant a second crop of early potatoes in late May if your season extends long enough. This gives you a double harvest without sacrificing yield.
Monitor your local frost forecast and adjust planting dates accordingly. In Zone 6b, soil temperature is more critical than air temperature—use a soil thermometer to confirm readiness.
Once planted, keep soil consistently moist (but not soggy) to encourage tuber formation. Mulch with straw or grass clippings to retain moisture and regulate temperature.
With the right timing, you’ll enjoy homegrown potatoes from July through October—just in time for fresh harvests and storage prep! 🥔
How to pre-sprout potatoes indoors for a head start in Zone 6b gardens
Zone 6b’s cool springs can delay potato growth, but pre-sprouting gives your tubers a 4–6 week head start. This method works especially well for early varieties like 'Yukon Gold' or 'Red Norland', which need every warm day to maximize yield.
By the time soil reaches 45°F (7°C), your sprouts will already be 2–3 inches tall and ready to thrive.
Start pre-sprouting 6–8 weeks before your target outdoor planting date (typically late February to early March in Zone 6b). Place seed potatoes in a bright, cool location (60–65°F) with indirect light—like a sunny windowsill or under grow lights. Avoid direct sunlight, which can scorch tender sprouts.
Here’s the critical step most gardeners miss: humidity control. Use a paper bag or damp towel to maintain moisture without drowning the tubers. Check daily for signs of rot (soft, mushy spots) or mold (fuzzy growth)—both kill sprouts faster than you’d think.
A small fan on low improves air circulation and prevents disease.
- Overwatering: Soggy tubers rot in 24 hours. Use a spray bottle for light misting.
- Direct sunlight: Burns sprouts before they harden. Keep in indirect light only.
- Skipping humidity: Dry air stunts growth. Cover with a damp paper towel.
When sprouts reach 1–2 inches, it’s time to harden them off for transplanting. Move them to a cooler spot (50–55°F) for 5–7 days to mimic outdoor temps. This toughens stems and reduces shock when you plant them. Choose a cloudy day for transplanting to avoid stress from afternoon sun.
Plant pre-sprouted potatoes deeper than unsprouted ones—aim for 4–6 inches deep—since the stems will grow longer. Mound soil around the base as the plant grows to encourage tuber formation. With this method, I’ve seen 30% faster emergence and larger tubers by harvest time compared to direct planting.
Pro tip: Label your sprouted potatoes with variety names and dates using toothpicks and masking tape. This saves headaches later when you’re digging up a mystery harvest! Store extras in a cool, dark place until planting day.