
Plants
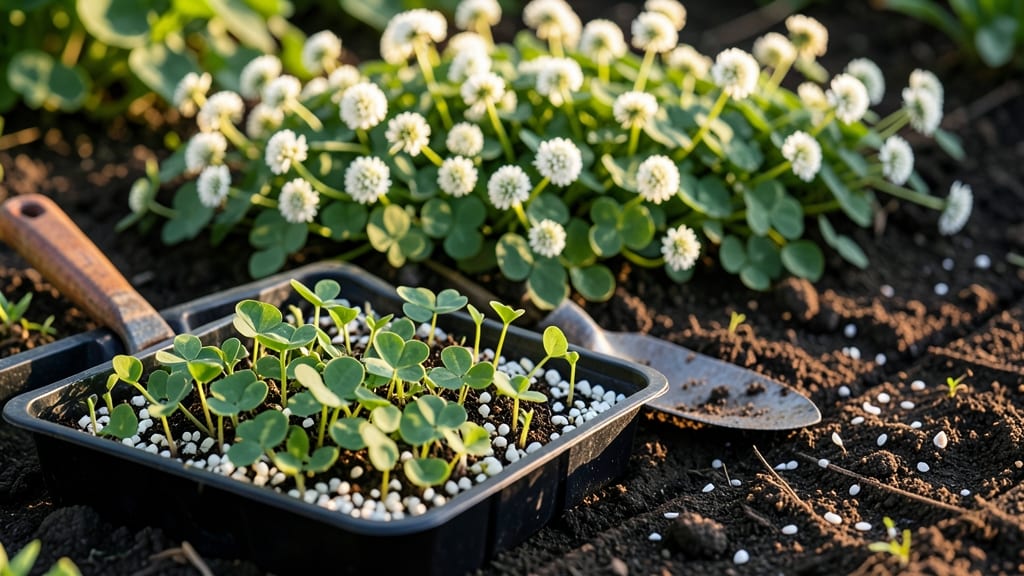
When to plant clover in the spring isn’t just about the calendar—it’s about matching your local chill hours to fast, reliable germination. If you’ve ever watched clover seeds sit stubbornly in the soil for weeks, you know timing is everything.
Most gardeners in USDA Zone 6a (and similar climates) should aim for early to mid-spring planting, but there’s a science behind it. Clover thrives when soil temperatures hit 50°F (10°C), which typically aligns with March or April after the last frost—usually around April 15 in many regions.
Why does this matter? Planting too early risks seed dormancy or fungal issues, while waiting too long can delay establishment.
I’ll show you how to use chill-hour data and soil cues to pinpoint the fastest window for your specific variety—whether you’re growing it as a cover crop, pollinator magnet, or lawn enhancer.
Ready to skip the guesswork? Let’s break down the exact steps to time your planting for lush, rapid growth—no more waiting around for clover to finally take hold.
Optimal spring planting dates for clover by USDA hardiness Zones
Planting clover at the right time in spring ensures strong germination and rapid establishment. Unlike cool-season crops, clover thrives when soil temperatures reach 50°F (10°C)—typically 2-4 weeks after your last frost date.
The key is matching your USDA hardiness zone with clover’s chill-hour requirements, which vary by variety (red, white, or alsike).
For example, red clover (common for cover crops) needs 300-600 chill-hours to break dormancy, while white clover (great for lawns) tolerates 150-300 chill-hours. Planting too early risks seed rot, while waiting too long delays growth. Let’s break down the ideal planting windows by zone to avoid these pitfalls.
In Zones 3-4, where winters are harsh, aim for late May to early June—this avoids spring frost risks while ensuring soil warmth. Meanwhile, Zones 7-10 can plant as early as February (or even late fall in mild climates), but prioritize white clover for its drought tolerance.
For cover crop mixes, include red clover in Zones 5-8—it fixes nitrogen 3x faster than white clover when planted in early April. Always test soil pH (ideal: 6.0-7.0) before sowing, as acidic soils slow germination.
If you’re in a transition zone (e.g., Zone 6b), err on the earlier side (early April) and use a light mulch to retain moisture. Late plantings risk summer dormancy before the clover establishes roots.
For pollinator gardens, plant alsike clover in Zones 5-7 by May 1—its early blooms attract bees before other flowers emerge. Pair it with alfalfa for a high-protein forage mix.
Remember: Chill-hours (cold exposure) trigger germination, but soil warmth (50°F+) kickstarts growth. Use a frost calendar (like NOAA’s) to pinpoint your last frost date, then wait 2-3 weeks before sowing.
If your zone isn’t listed, default to planting when daytime highs consistently reach 60°F (15°C). In dry climates, water seeds lightly daily until sprouts appear (usually 7-14 days).
For lawn clover blends, overseed in early spring (March-April) for a self-repairing turf. Avoid late plantings—clover won’t outcompete weeds if established after June.
How to calculate your local chill-hours for perfect clover establishment
Clover thrives when it receives the right amount of chill-hours—those critical cold temperature units that break seed dormancy. Unlike warm-season plants, clover needs a cooling period to germinate reliably.
If you plant too early, seeds may rot; too late, and growth slows. Here’s how to pinpoint your ideal chill-hour window for spring planting.
Start by checking your USDA Hardiness Zone (find yours via the USDA Plant Hardiness Zone Map). Most clover varieties need 300–500 chill-hours to germinate well. For example, red clover often requires 400–500 hours, while white clover may need just 300–400 hours. Use this as your baseline.
- Find your zone’s average last frost date (e.g., April 15 in Zone 6a).
- Use NOAA’s frost charts to track soil temps—clover needs 40–50°F soil for 2+ weeks.
- Calculate chill-hours using local weather data: Multiply hours below 45°F by 1 (e.g., 10 hours at 40°F = 10 chill-hours).
- Plant when you’ve hit 70–80% of your clover’s chill-hour needs (e.g., 350 hours for red clover).
- Adjust for early varieties (e.g., white Dutch clover) if your zone runs cooler.
Pro Tip: Use online chill-hour calculators (like AgroClimate) for precise local data.
For northern climates (Zones 3–5), aim to plant 4–6 weeks after your average last frost. In warmer zones (Zones 6–8), wait until soil temps hit 50°F consistently—usually late March to early April.
If you’re in a transition zone (Zone 6b–7a), consider covering seeds with straw to retain moisture during cooler nights.
Don’t rely solely on calendar dates—soil temperature is your true guide. Use a soil thermometer to confirm readiness. If temps fluctuate above 60°F, clover seeds may dormant again, delaying germination. For fastest results, plant when daytime highs are 60–70°F and nights stay above 45°F.
If you’re unsure, start with a small test patch 2–3 weeks before your ideal window. This lets you monitor germination without risking a full lawn or cover crop. Adjust your timing based on how quickly seeds sprout—this fine-tuning ensures your clover establishes before summer heat sets in.
Remember: Chill-hours + soil temp = success. Combine these factors, and you’ll have clover thriving in 6–8 weeks instead of struggling for months. Happy planting! 🌱